

Evolution of a Design: Third Nature Brewing Mural
So you want to paint a mural?
Painting a mural has been one of the most daunting, yet rewarding, artistic experiences I have had. The sheer scale of doing a mural painting can be overwhelming for sure. So when I was approached by Third Nature Brewing Co to paint a 1,700 square foot mural, I was definitely questioning if I was up for the challenge!
Now that I have a few completed murals under my belt, I have really nailed down a process that works. And it all starts with the following…
How do you eat an elephant? One bite at a time!
This is an expression that I have adapted as a sort of a mantra when taking on any new, big, or overwhelming project. It is an especially appropriate metaphor when considering a mural painting! A large painting that must be done on-site and approved by a client and stay within a budget… that is an elephant-sized job!
So, let’s break it down with our guide to painting a mural in 6 easy steps!

Here’s 6 easy steps to plan out your large-scale painting!

Step 1: make a plan
This may seem like a no-brainer for those natural planners out there, but some of us need that extra little nudge. Making a plan for your mural, before you even begin, will really pay off! This can include: size, surface, special requirements or equipment, research, supplies needed, budget and who’s paying for what, timeline, limitations, and any other specifics that will affect your mural.
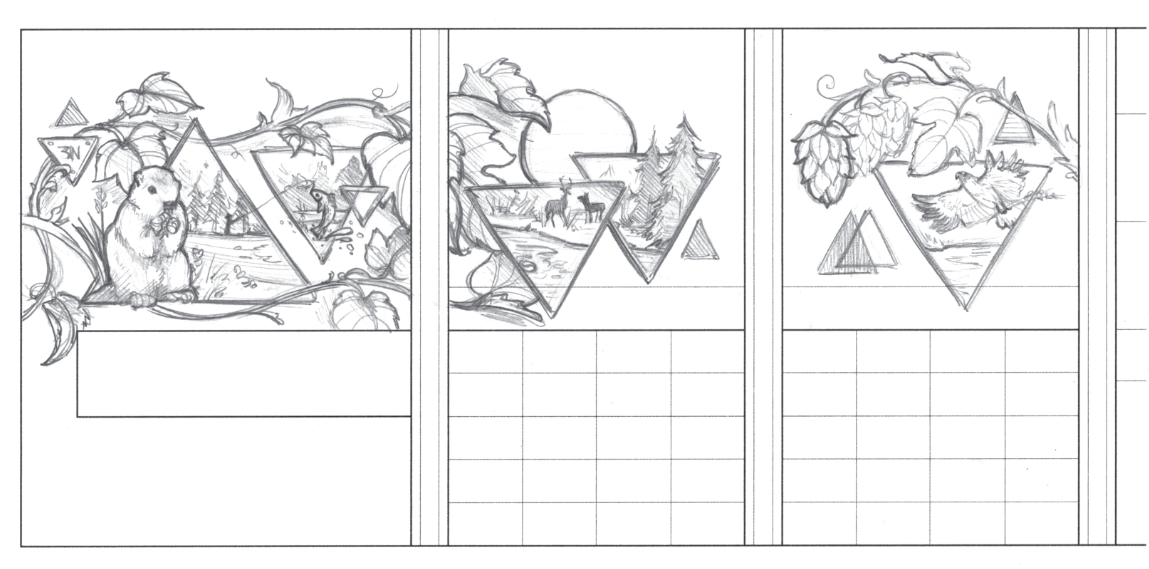
Step 2: Sketch it out
This is always my go-to for any creative project! There’s so many benefits to sketching out your design first — it gives immediate visuals to your ideas, is an effective way to communicate these ideas to your client, and will start you thinking about how to plan a composition for a large space.
Step 3: Create a digital mockup
A digital mockup serves several purposes. I always make my mock-up to scale and include any existing architecture or fixtures that will effect my piece. This allows both myself and my client to have a preview of exactly what to expect. The mockup also allows me to measure out the actual mural since I have created this to scale.
step 4: transfer to wall
Now, depending on the space you’re in, you may be able to use a projector, which makes this step even easier. I use a printout of my mock-up to project the image to the wall. If the space doesn’t allow for this—for example, if it’s up too high or not on a vertical substrate—then I can use the measurements from the mockup to freehand the sketch. Using a grid is another possibility. I like to use chalk (just regular classroom chalkboard chalk) to draw out my image. Chalk is easy to erase with just a damp cloth and doesn’t noticeably mix in with the paint.
step 5: Tape off areas
Tape off any areas that you don’t want the paint to transfer to, just like if you were painting a room a solid color. If you have geometric forms in your design, I highly recommend using tape here as well to create nice, clean edges.
Step 6: Start Painting!
Now the fun begins! You’ve done all of the legwork to create a successful mural which will make this final step all the more enjoyable. I like to block in the large areas of color first and even do a bit of underpainting if I need to. Slowly work up to the details and VIOLA! you’ve completed your mural!
As I mentioned, my most recent mural painting was for Third Nature Brewing, Co. Here’s a peek behind the scenes showing the evolution of this design — from sketch to mockup to final painting.

Ever heard of a deer with three antlers!

My first concept featured a three-antlered deer, which is an actual, natural anomaly. I liked how it tied in the theme of 3s and would be a fun conversation starter. Ultimately, we chose a different woodland creature to be the star of the show…
Meet Hoppy, the Third Nature groundhog!

This little dude is based off of an actual groundhog who lives on the brewery grounds. I gave him a hop to chew on, to tie in the brewery theme, and brought him to life with a combination of realistic styling and bright pops of color.
From here, I changed the whole composition of the mural. The new design included vignettes of the local landscape framed within triangular forms and a larger than life hops vine winding throughout. I ended up really liking how this layout could showcase many different images and styles.

The second concept sketch was approved, so we were now ready to do the digital mockup. I took some extra time developing this since the space was so huge and I would be working within a tight deadline. Again, everything was done to-scale and I included the existing beams, windows, and fixtures. I relied heavily on this when I started painting so it was well worth the preliminary work.
I included color swatches here to communicate the overall palette which was later translated into actual paint colors. I even created a “paint by number” inspired system to keep myself organized!
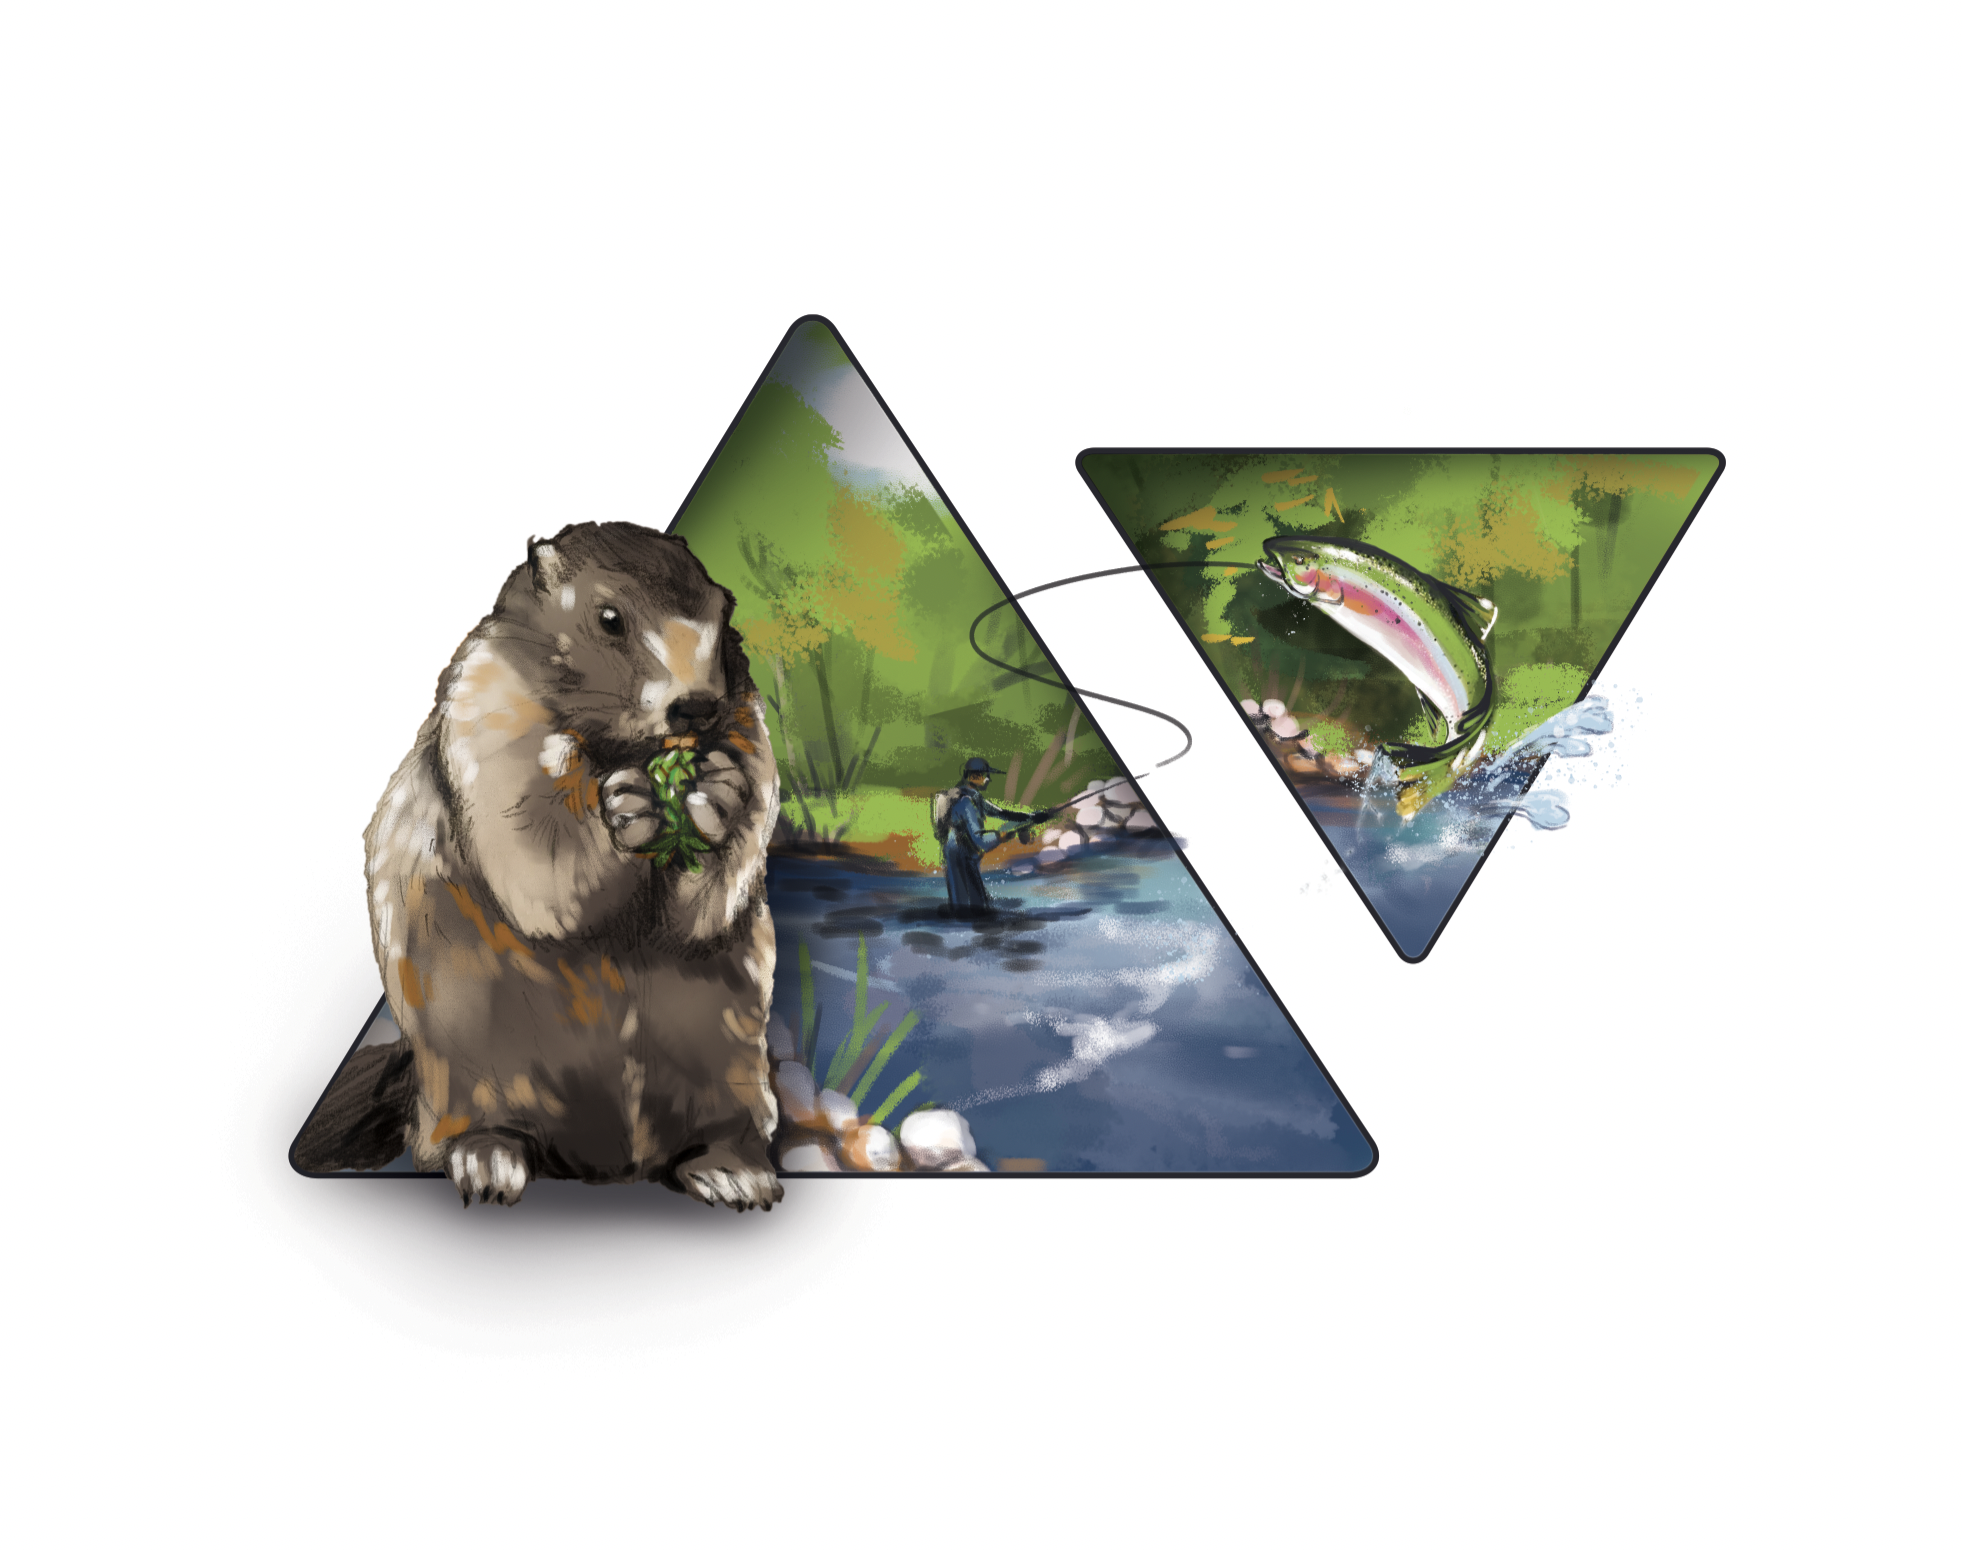
Some of my details for the digital mock-up. I created these in Photoshop using a Wacom tablet. The client wanted “Easter Eggs” (little hidden images) so I was able to show where some of those would fit in with these illustrations.


Once I was in the actual space, I created a timeline for myself to stay on track. I could only paint when the building was closed which meant lots of early mornings, late nights, and even a couple all-nighters.

I numbered all of my paint so I could keep track of what went where!

This scissor lift was my home for the next 10 days…. and I was anywhere between 10 and 24 feet off the ground that whole time!

Lots of FrogTape and chalk on Day 1.

Blocked in bright colors first to make the vignettes pop!
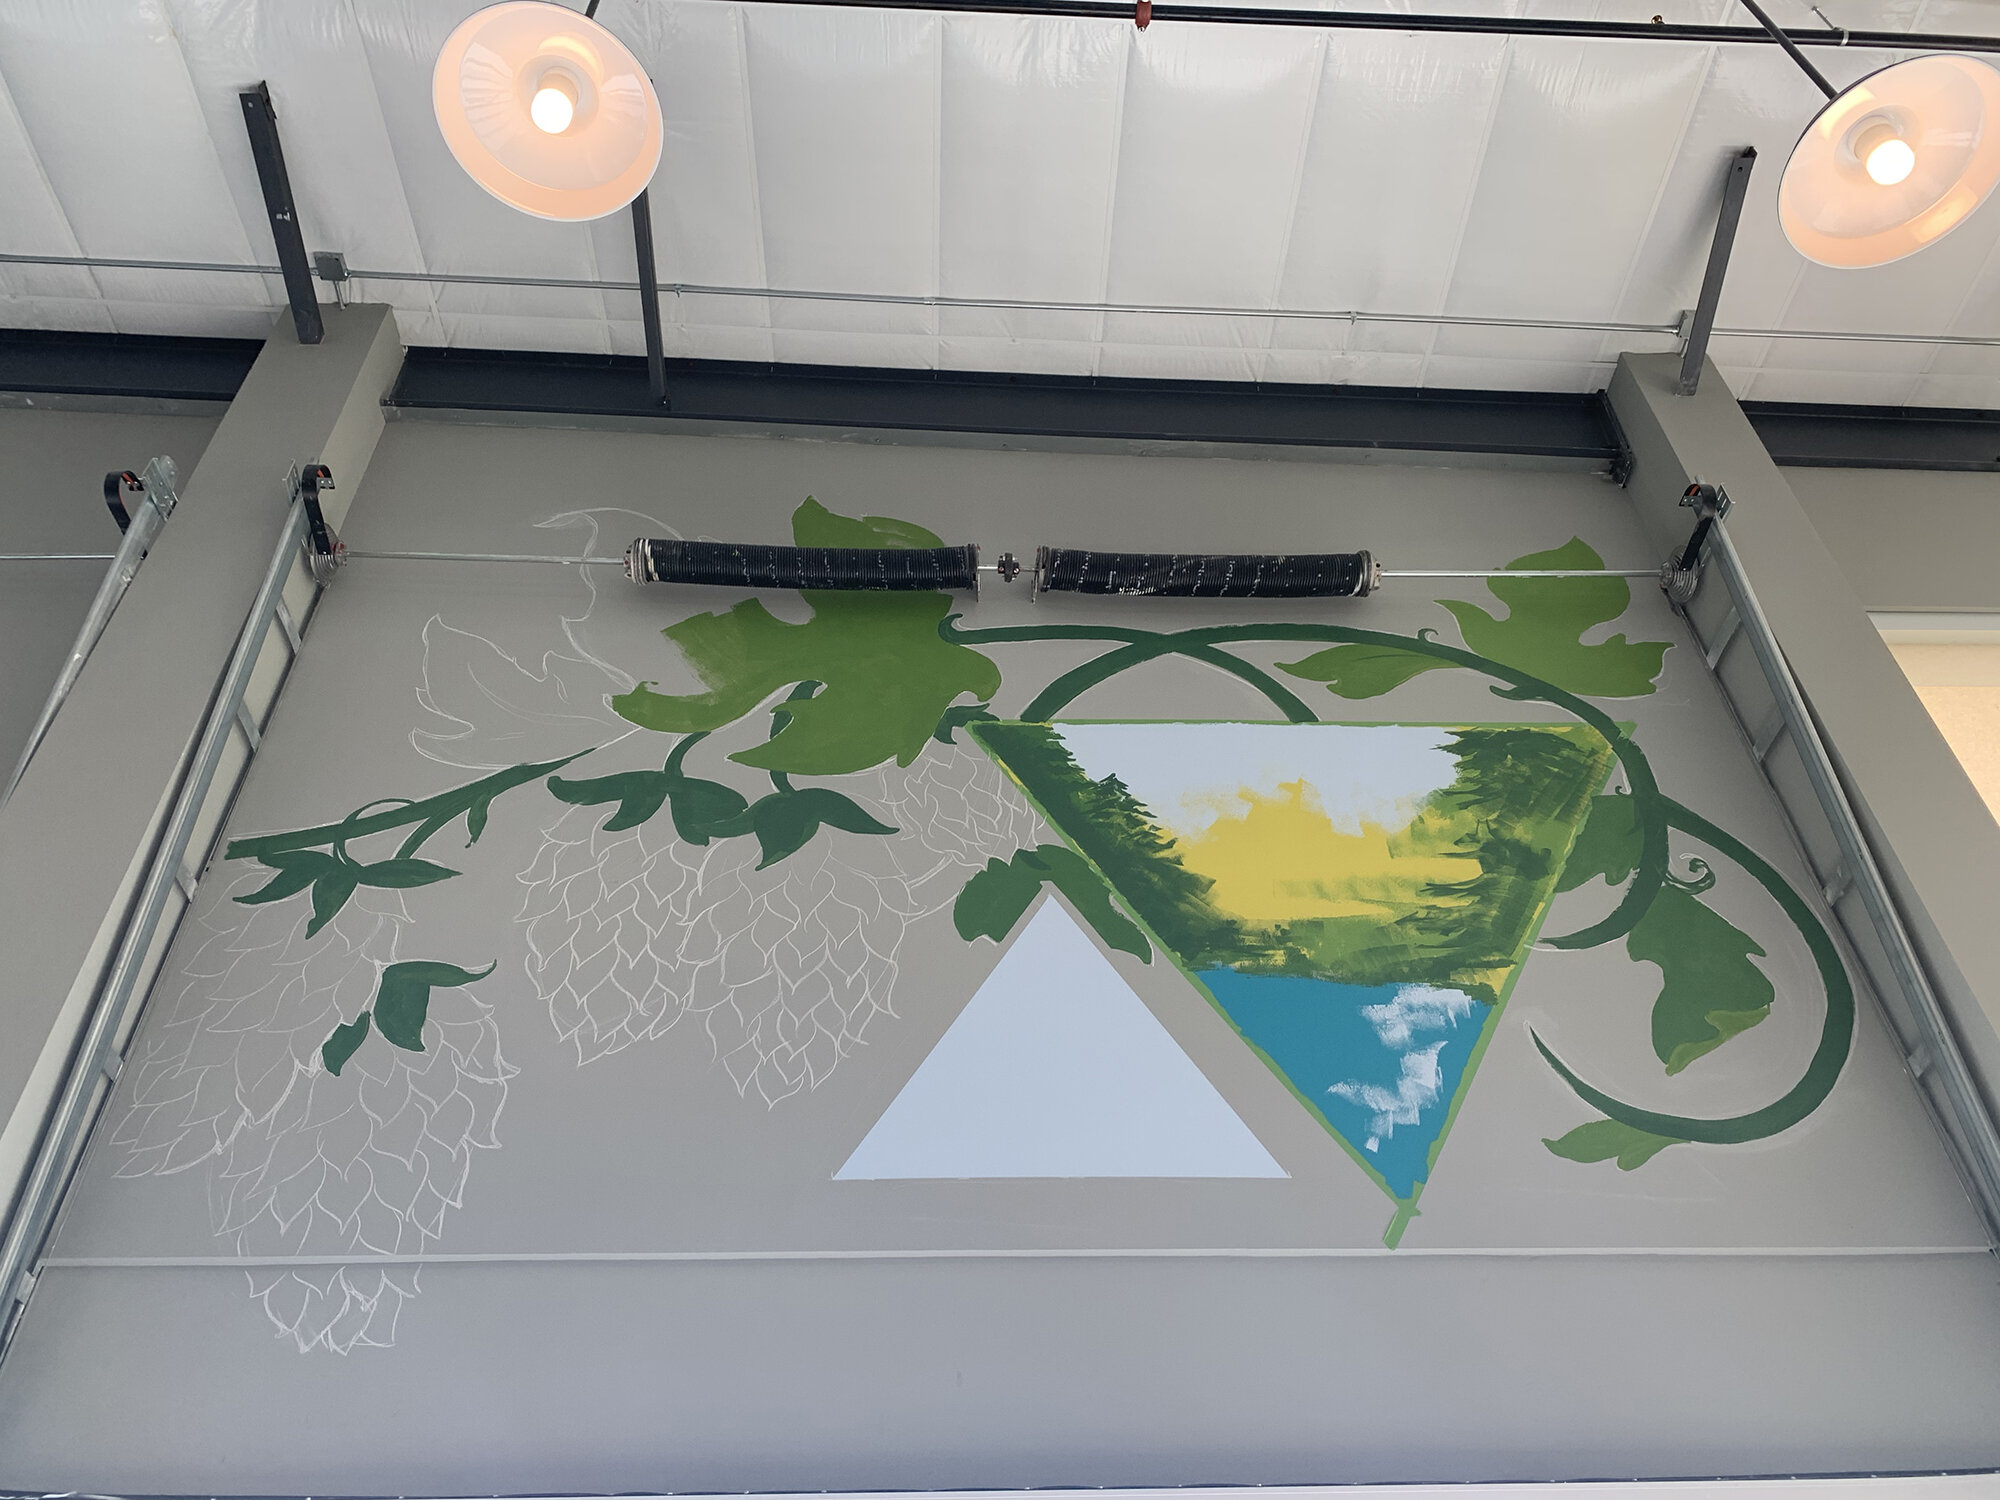
See those rollers at the top? That’s about 22 feet from the ground!

A few days in, and a lot of paint later!

Hoppy in his early stages… he ended up being over 7 feet tall!
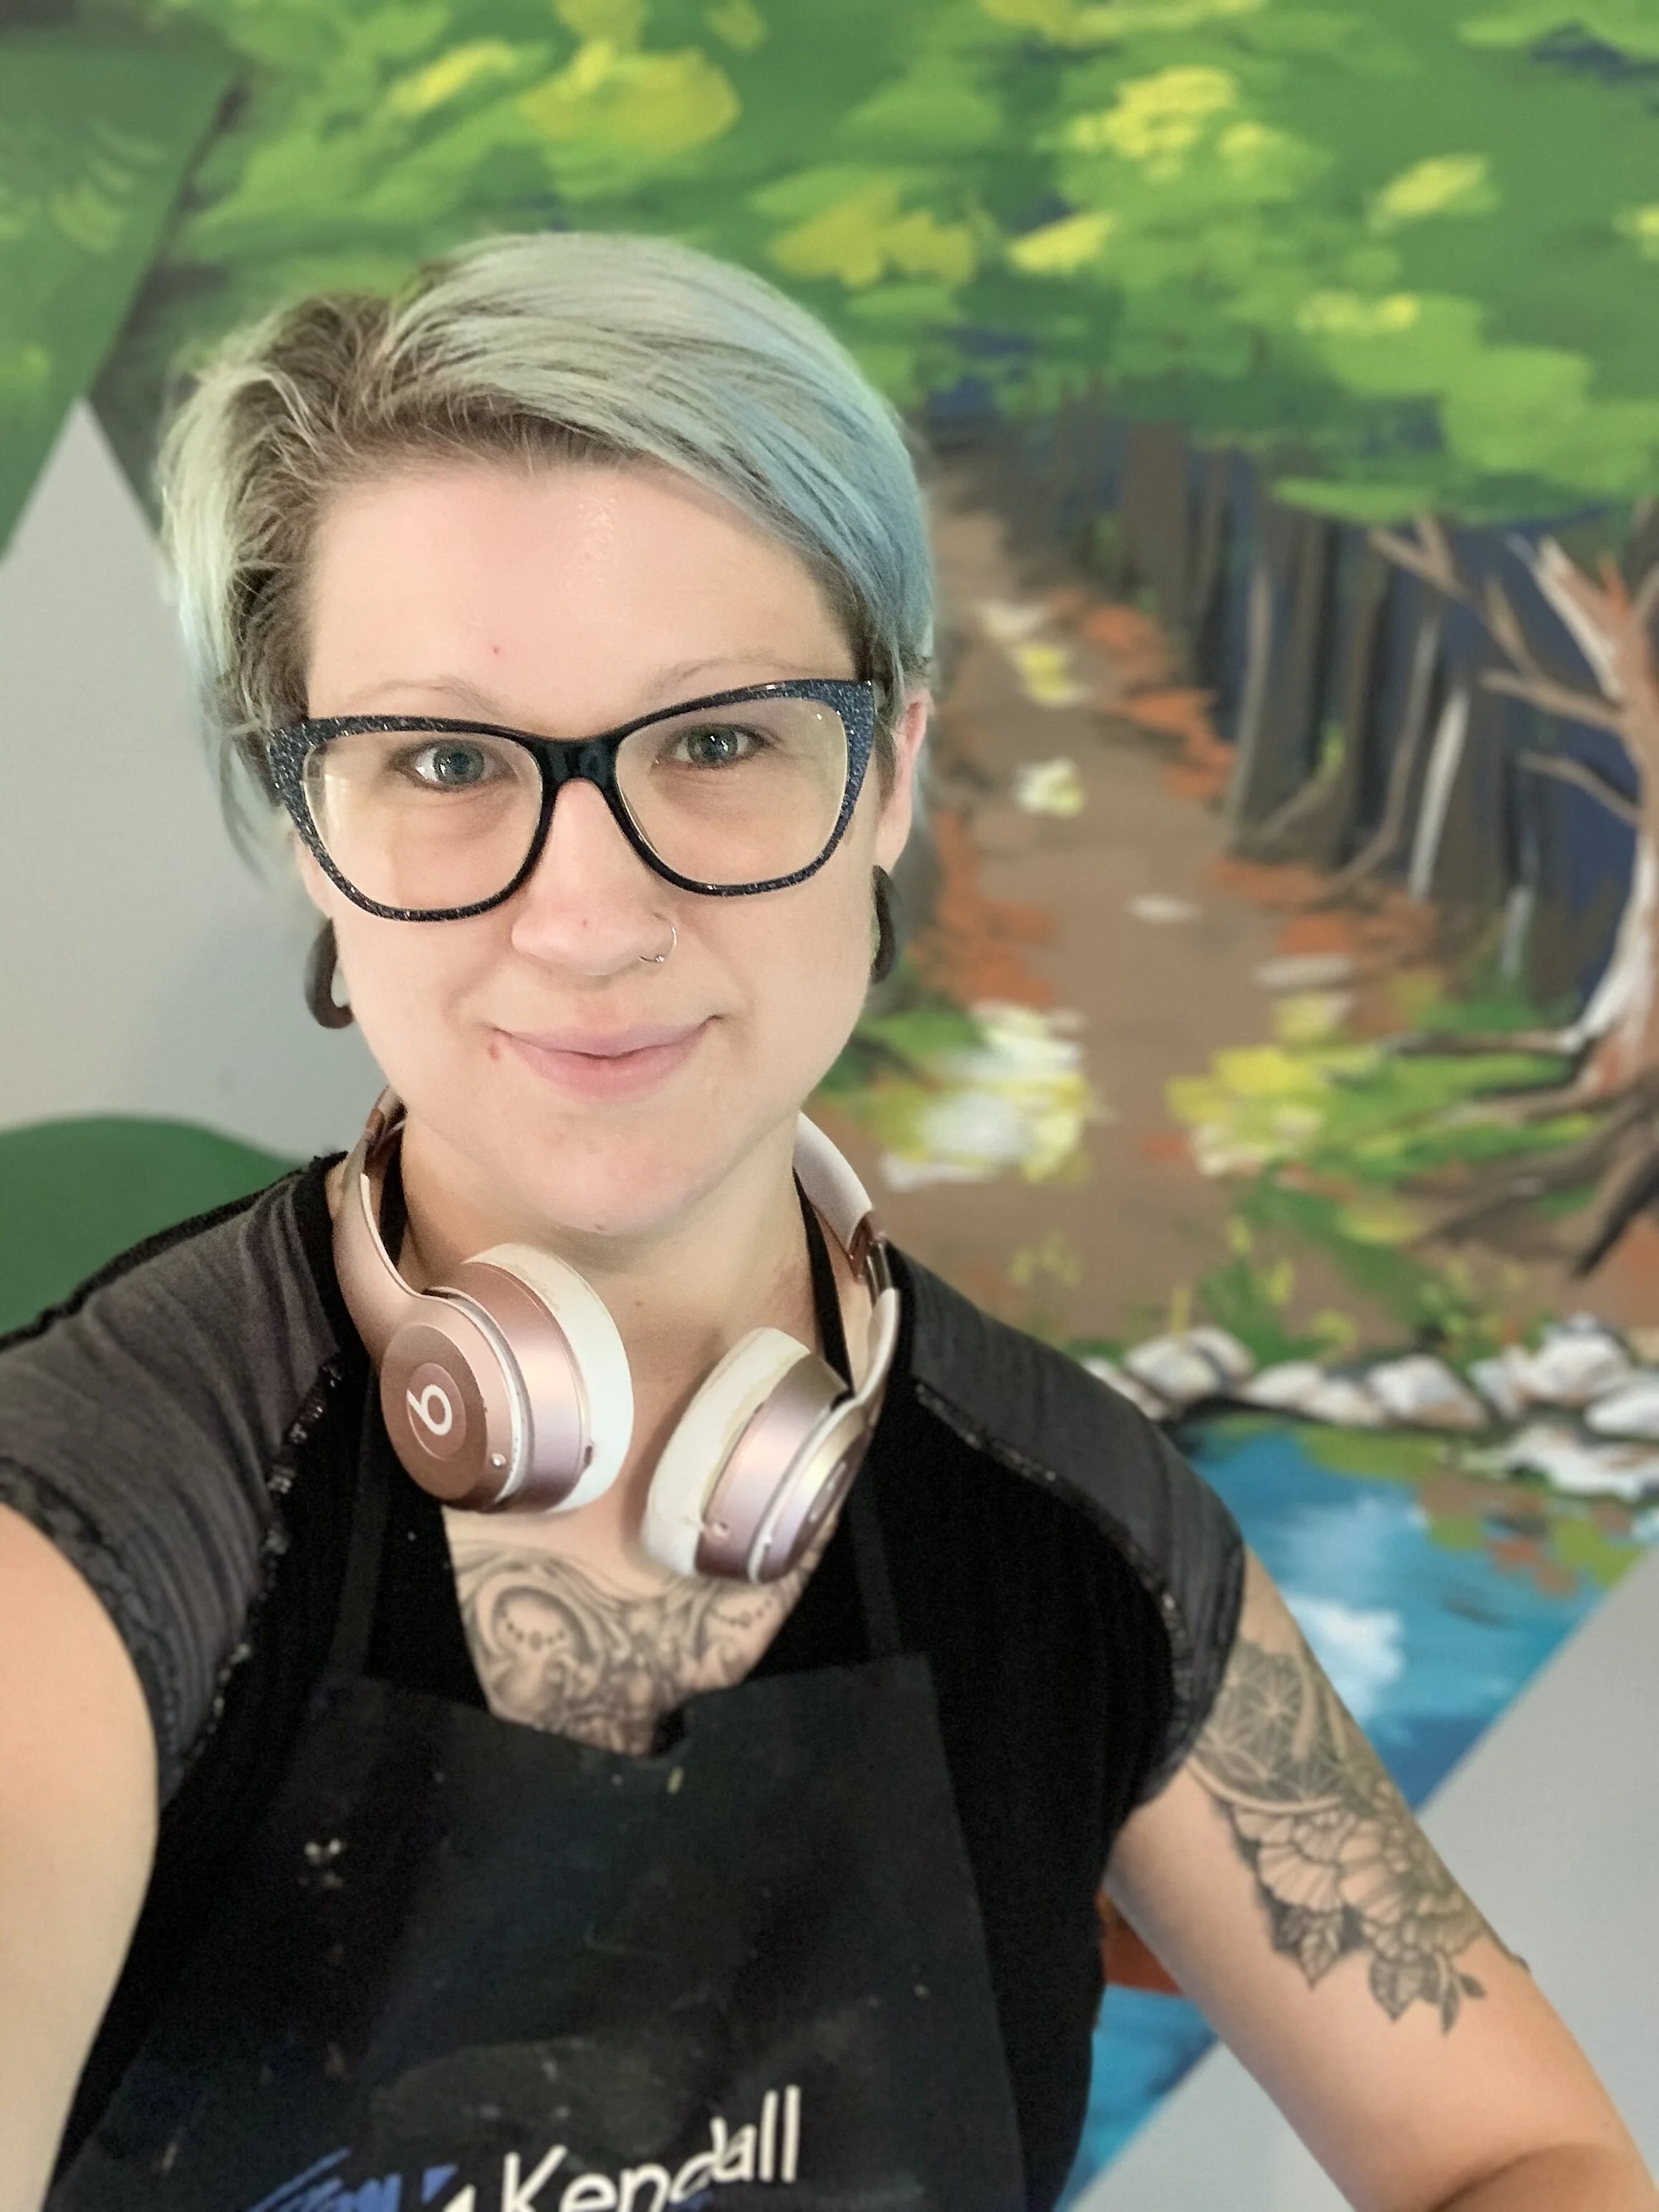
A very greasy-headed, sleepy-faced selfie!
I had a blast creating this humongous painting — even with the crazy hours! It took me 10 days, and countless hours, to complete but in the end, it was a huge success!


As always, we’d love to hear your feedback!
Have you created a mural before? Or are you working on one for a future project? What steps have helped you the most with planning a large-scale painting? Tell us in the comments!